Learn how to securely configure and personalize your AI-moderated interview before sharing it with participants.
• After setting up your interview study details, you will be taken to the Configure setup.
• This is where you can define participant requirements, access control, interaction modes, and messaging.
Configure Interview #
• Ask for the participant’s explicit consent
Enable this to show a consent prompt before the interview begins.
• Ask for the participant’s email
Enable this to collect your participants’ emails. It’s useful for follow-up communication or participant tracking.
• Secure Study with Access Code
Restrict access to your interview by requiring participants to enter a code. Ideal for private or invitation-only studies.
Advanced AI-Moderated Interview #
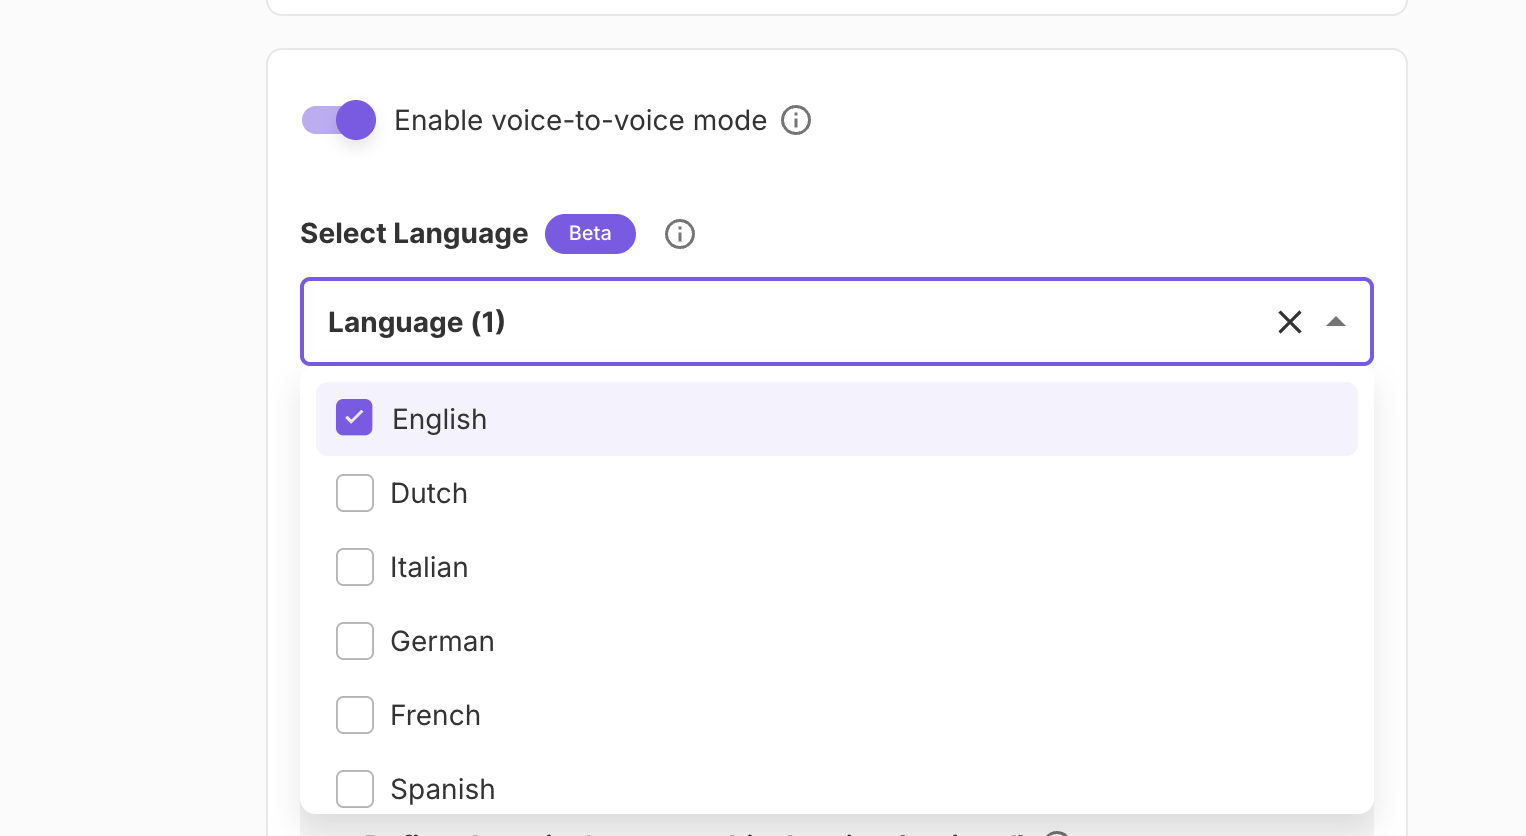
- Enable Advanced AI-Moderated Interview
Toggle this to allow real-time voice interaction between the AI and the candidate.
Know more about the Standard AI-Moderated Interview and the Advanced AI-Moderated Interview here. - Select Interview Language
Choose the language your AI moderator will use. The Qualz.ai platform supports 20+ languages.
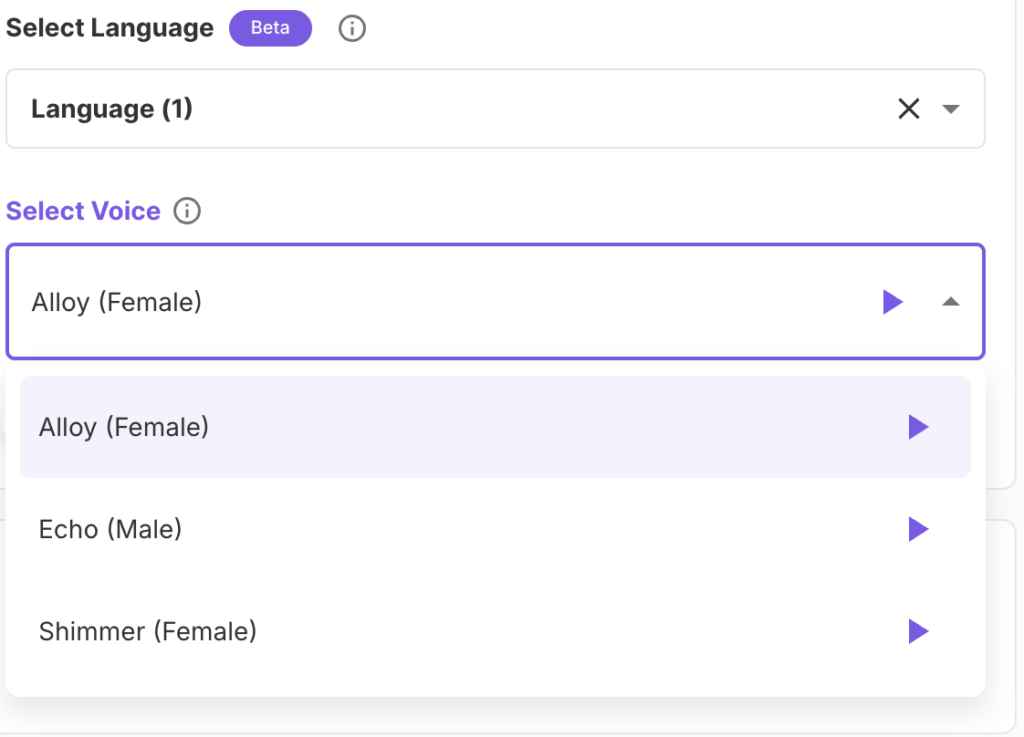
Personalize the AI Voice
Play and select the voice with which you’d like to moderate the interview. This additional voice attribute is applicable only for the English language
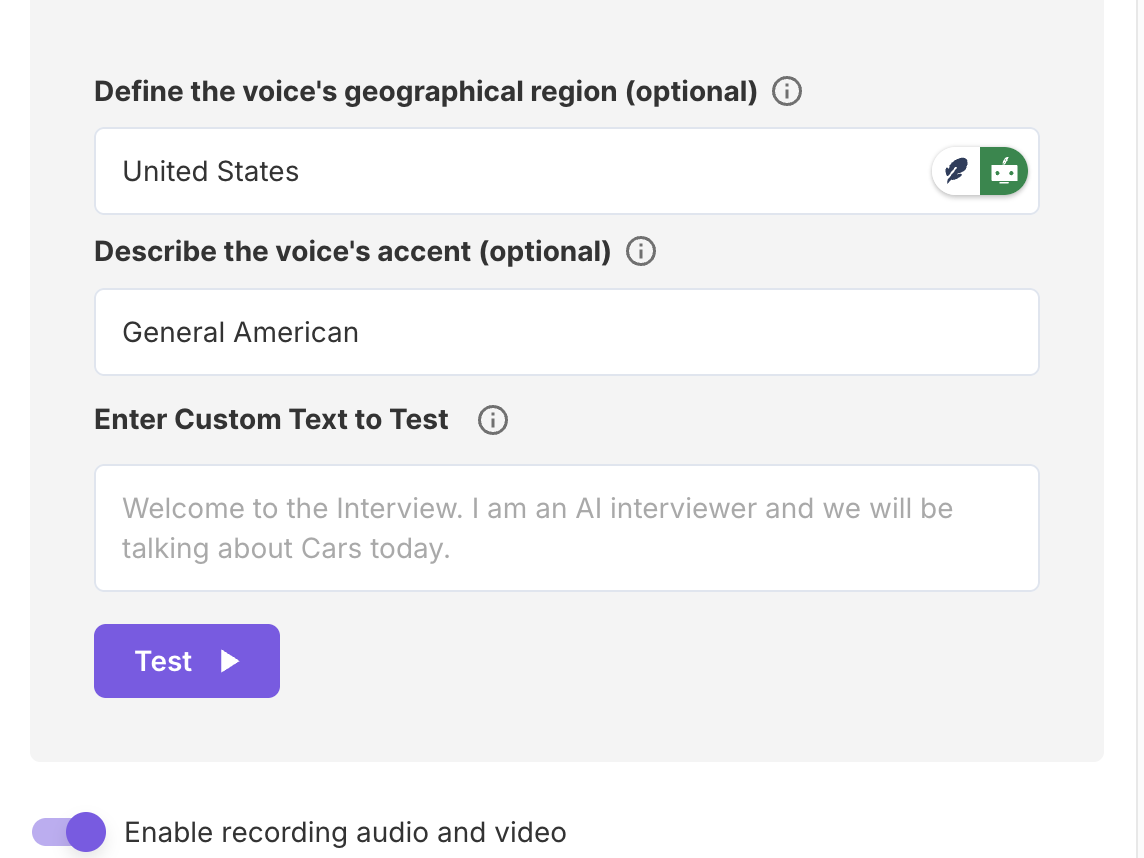
Customize AI Moderator Tone:
Geographical Region: e.g., United States, United Kingdom, Australia
Enable Audio and Video Recording
Toggle this to capture the full interview experience, including facial expressions, tone, and context, by enabling audio and video recordings.
• Number of Participants
Enter the number of participants you want to include in the study. This helps in managing and tracking your study progress.
Optional Sign-up & Redirect: Allow participants to optionally sign up for future studies
When enabled, participants will see an option to opt in for future research at the end of the interview.
• Redirect URL
Provide a link to redirect participants after they complete the interview (e.g., your company website or a thank-you page).
• Select Interview End Date
Set a specific closing date for your interview to control when it stops accepting responses.
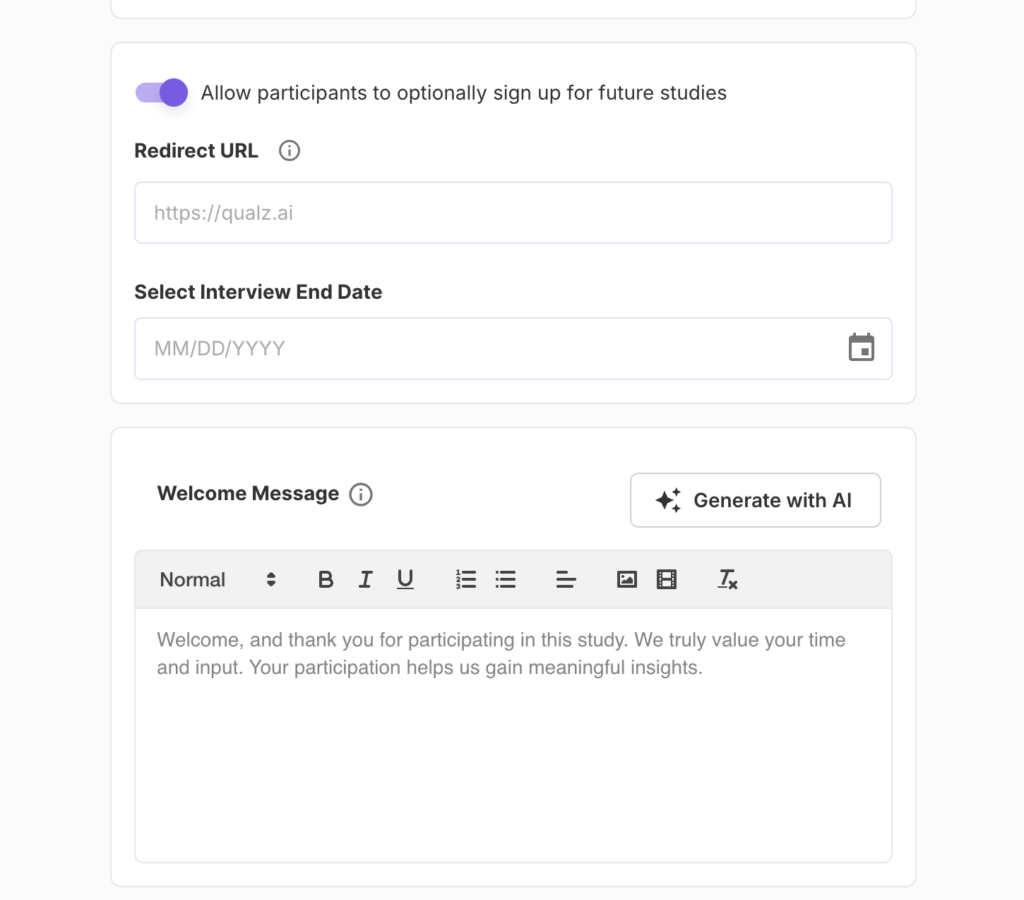
• Welcome Message
Write a friendly, concise message that participants will see at the start of the interview. Click on Generate with AI if you want to create a welcome message with AI.
Once all your settings are in place, click Save and Continue to proceed to the final Share step, where you can distribute your interview study.


